
Brake adjustment: Ensuring safe riding
Cycling is not only a form of recreation and physical activity but also a popular means of transportation. However, to enjoy this activity and travel on two wheels safely, it is essential to have well-adjusted brakes. Efficient and properly tuned brakes are crucial for your safety when cycling. In this article, we will discuss the steps to adjust the brakes on your bike to ensure safe riding.
Step 1: Prepare your tools
Before you begin adjusting the brakes, make sure you have the necessary tools. You will need hex keys, torx keys, flat wrenches, or socket wrenches (depending on the type of brakes you have), as well as a Phillips-head screwdriver. Having access to these tools will facilitate the entire adjustment process. You can find them at bike repair stations too.
Step 2: Assess the condition of the brakes
Before starting the adjustment, carefully inspect your brakes. Check the condition of the brake pads – make sure they are not too worn out and do not contain any contaminants or signs of wear. Ensure that the brake cables are properly tensioned and not frayed. If you have disc brakes, check if the discs are not bent or distorted.
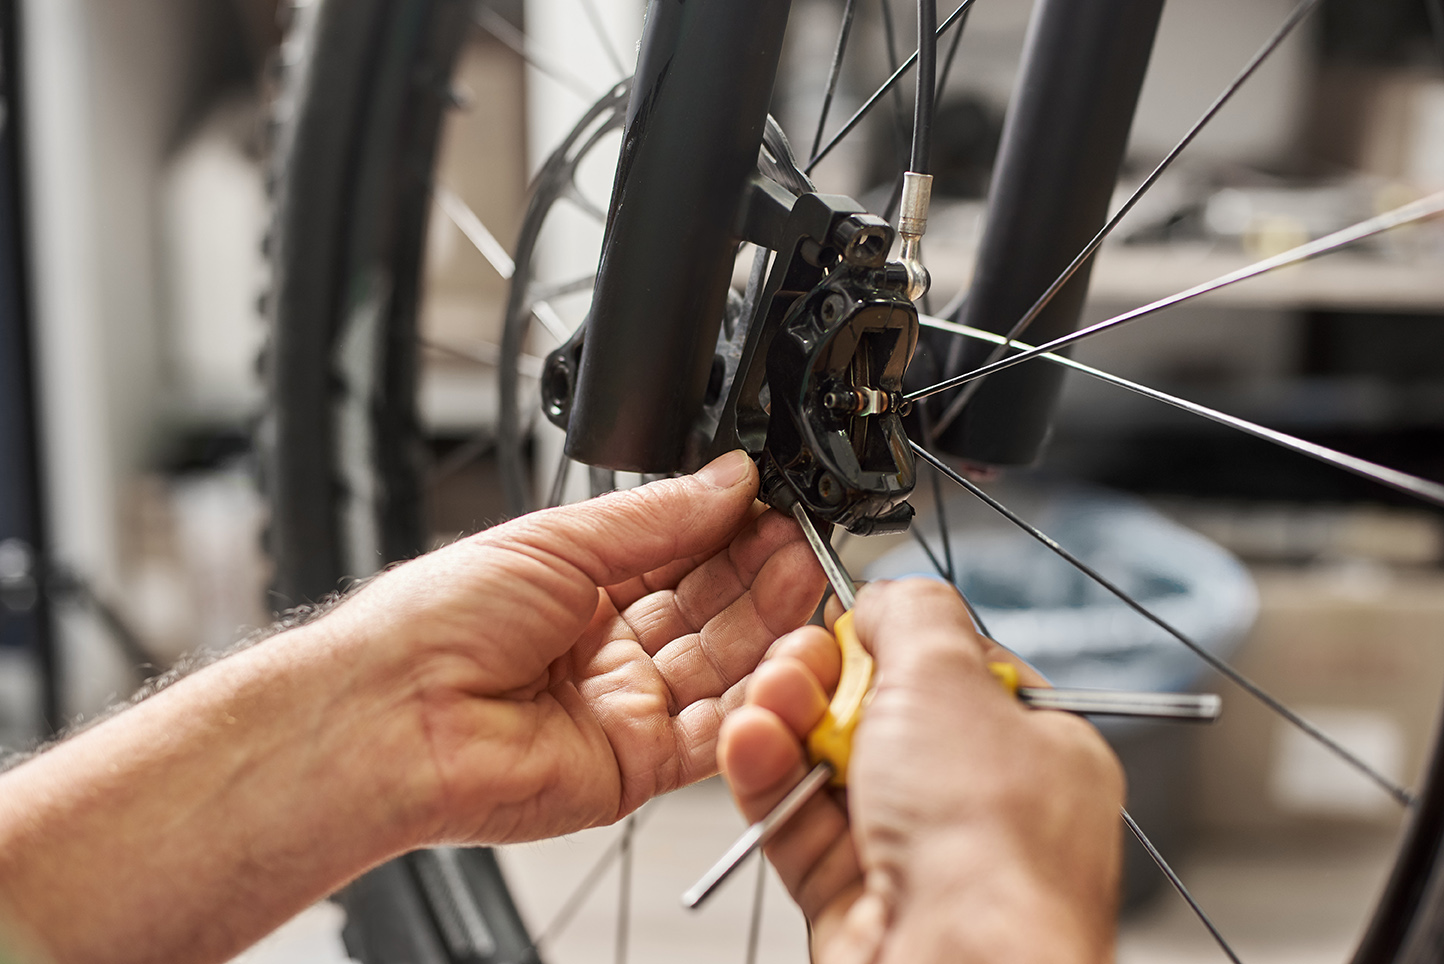
Step 3: Brake lever adjustment
Most bike brakes come equipped with an adjustment knob that controls the distance between the brake pads and the rim or disc. This knob allows you to adjust the pressure of the brake pads against the rim or disc. Use a hex key or flat wrench to adjust this knob. Turn it as needed until you achieve the desired pad-to-rim or pad-to-disc clearance. It is crucial to get this adjustment right – not too tight to avoid excessive friction, which may lead to faster pad wear.
Step 4: Cable tension adjustment
If your bike has cable-actuated brakes, ensure that the cables are correctly tensioned, but not excessively tight. Overly loose or overly tight cables can affect braking performance. You may need to adjust the cable tension for optimal results. Use a hex key or flat wrench to make these adjustments, following the manufacturer’s instructions.
Step 5: balance the braking force
The final step in brake adjustment is to ensure that braking forces are evenly distributed between the front and rear brakes. Take your bike for a ride and perform a few controlled stops. Observe whether one of the wheels tends to lock up prematurely, or if you experience any wobbling. If you notice any issues, revisit the brake adjustments to achieve a balanced and controlled braking experience.
In summary
Proper brake adjustment is crucial for safe cycling. By maintaining the correct cable tension and achieving even brake pad-to-rim or pad-to-disc clearance, you minimize the risk of accidents and breakdowns. Do not hesitate to carefully assess the condition of your brakes and make adjustments when needed. If you don’t feel confident doing this on your own, seek the assistance of a professional bike mechanic. Safety should always be a top priority when cycling, and well-tuned brakes will help you enjoy safe and pleasant rides.
